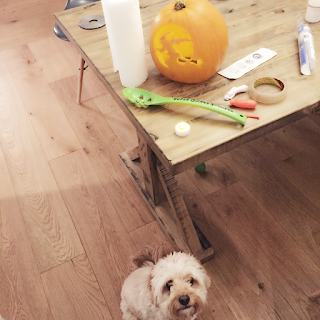
It's been a while so I thought I'd ease myself back into blogging with pumpkin carving. Before I begin I just want to say thank you to those that have e-mailed for advise or help, it's always such a pleasure to hear from you. <3To carve a pumpkin you will need the following;
- A pumpkin;
- A curving tool kit ( see pic for tools);
- Kitchen roll (it gets messy);
- A stencil ( you can buy or download these);
- Sticky tape;
- Led tea lights (far safer than the real thing);
- A puppy to eat the mess caused on the floor (optional);
- Patience
Step one:
Begin by chopping off the bottom of the pumpkin. This is far better as the lid normally tends to shrivel and go mouldy.
Step two:
Scoop the inside of the pumpkin out till it is hollow. Make sure you do this properly as if the inside is too thick the design won't work well.
Step three:
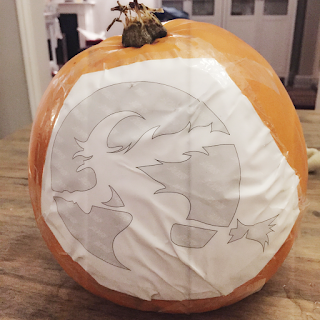
Tape your stencil onto your pumpkin, this can be a bit fiddly.
Step four:
Using the stick thing and/or the roller with jagged edges to go over the outline of the stencil (this takes a bit of time).Step five:
Remove the stencil and you should end up with an outline of the picture.
Step six:
Use the saw tool to cut out the perforated edges.
Step seven:

Rinse, dry your pumpkin and display with your with the Led tea lights.Tip: so your pumpkin lasts longer store it in a bucket of water.
Click below for free pumpkin stencils


